Installation and Set Up
The Fast Way
Kozmic CI offers a Docker-based single-node distribution.
It has some limitations, but it’s the fastest and easiest way to get started.
Step 1: Install Docker
If you use Digital Ocean, you can just create a droplet from an image with pre-installed Docker:
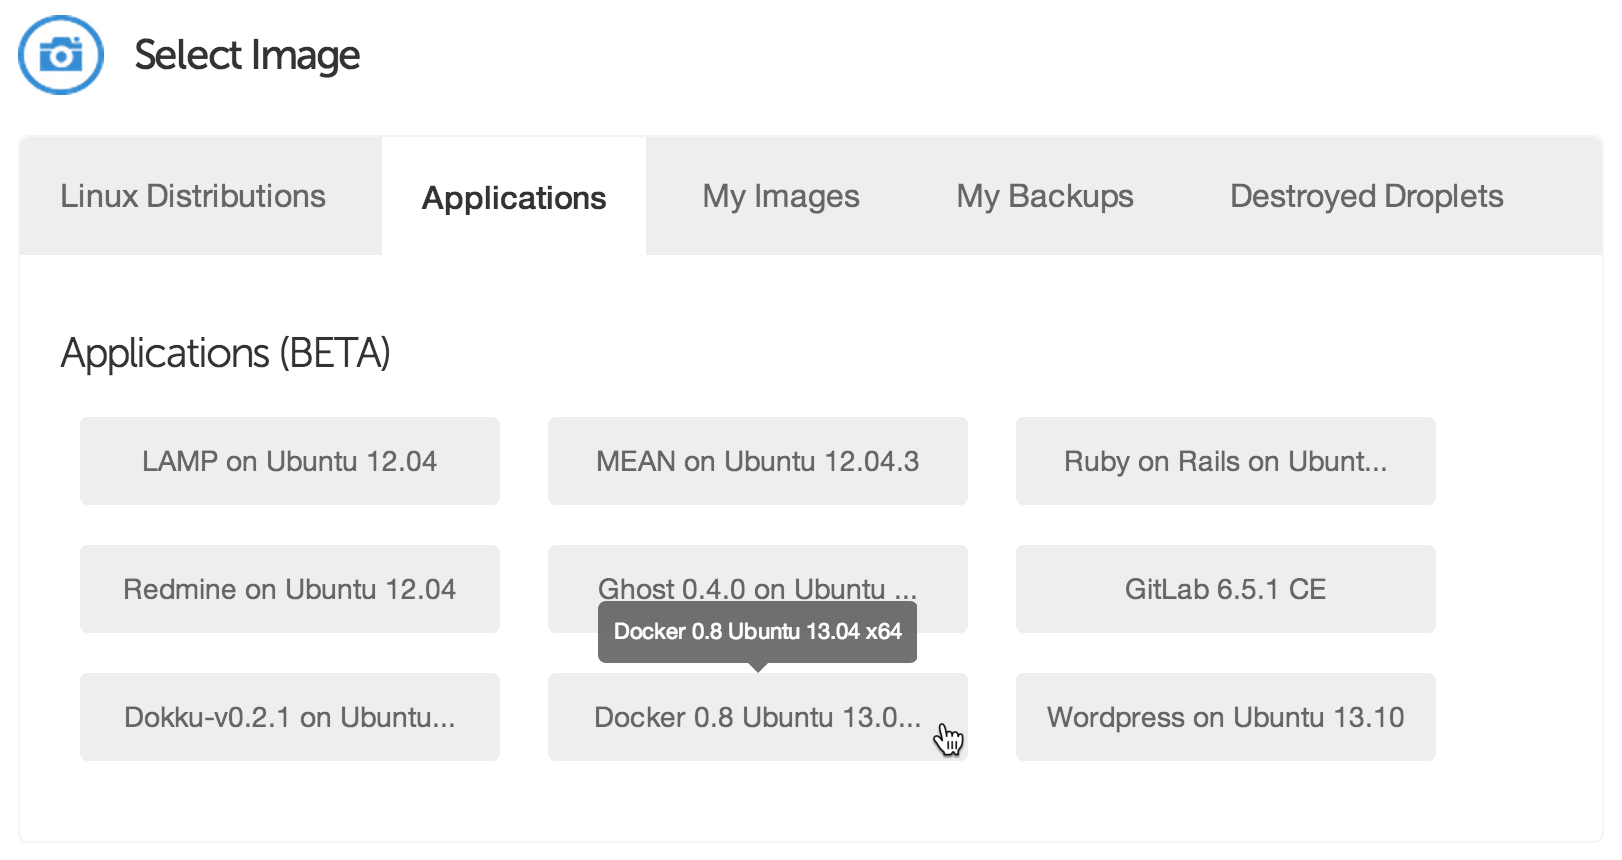
If you use Ubuntu 13.04 or later, installing Docker is just as simple as that:
apt-key adv --keyserver keyserver.ubuntu.com --recv-keys 36A1D7869245C8950F966E92D8576A8BA88D21E9
echo deb http://get.docker.io/ubuntu docker main > /etc/apt/sources.list.d/docker.list
apt-get update
apt-get install -f lxc-docker
If you use another OS, take a look at Docker installation instructions.
Step 2: Register a new application on GitHub
Go to https://github.com/settings/applications/new and create a new application.
Set the homepage URL to http://my-server-ip-or-addr and the authorization
callback URL to http://my-server-ip-or-addr/_auth/auth-callback.
Step 3: Start Kozmic CI
Create a directory for Kozmic CI logs:
mkdir -p $HOME/kozmic-ci/log
Create a data-only container that will be used to persist the Kozmic CI data:
docker run -v /var/lib/docker -v /var/lib/mysql --name kozmic-data ubuntu:12.04 true
Run Kozmic CI:
JOB=$(docker run -e=SECRET_KEY=xxxxx \
                 -e=GITHUB_CLIENT_ID=xxxxxxxxxxxxxxxxxxxx \
                 -e=GITHUB_CLIENT_SECRET=xxxxxxxxxxxxxxxxxxxxxxxxxxxxxxxxxxxxxxxx \
                 -e=SERVER_NAME=xxx.xxx.xxx.xxx \
                 -p=80:80 \
                 -p=8080:8080 \
                 --volumes-from kozmic-data \
                 -v=$HOME/kozmic-ci/log:/var/log \
                 --privileged -d aromanovich/kozmic:0.0.1)
docker logs $JOB
A few comments:
SECRET_KEYmust be set to a unique, unpredictable value. It must be kept the same if you are restarting or updating Kozmic CI container.GITHUB_CLIENT_IDandGITHUB_CLIENT_SECRETmust contain the OAuth client id and secret of your GitHub application.SERVER_NAMEmust contain an IP address or domain name of the machine. It must be accessible from the outside Internet.-p=80:80 -p=8080:8080binds the container ports to the host system.-v=$HOME/kozmic-ci/log:/var/logmounts the directory from the host into the container which make is possible to see what’s going on inside.--privilegedkey is required for running Docker within Docker.
After starting the container, take a look at the logs directory content and
make sure that it doesn’t say any errors. That’s it!
The Usual Way
The usual way is to not use Docker-based distribution, but manually deploy each of the three components:
- A web application that implements UI and exposes webhooks (
kozmic) - A uWSGI-application that sends a job log into a websocket (
tailer) - A Celery-worker that runs jobs
These components require Python 2.7, MySQL, Redis and Docker.
A Kozmic CI’s Dockerfile is pretty much self-documenting about how to deploy them.
It uses Supervisor for running all the components (see the last three
sections of supervisor.conf) and uWSGI as an application server for
kozmic and tailer (see kozmic-uwsgi.ini and
tailer-uwsgi.ini).
You will also have to use manage.py to run the database migrations:
KOZMIC_CONFIG=kozmic.config_local.Config ./manage.py db upgrade
If you’re planning to use Kozmic CI status images in GitHub README files,
they must be served through HTTPS to prevent GitHub from caching them
(see KOZMIC_USE_HTTPS_FOR_BADGES setting).
tailer must be run using uWSGI that is listed in its requirements
(./requirements/tailer.txt).